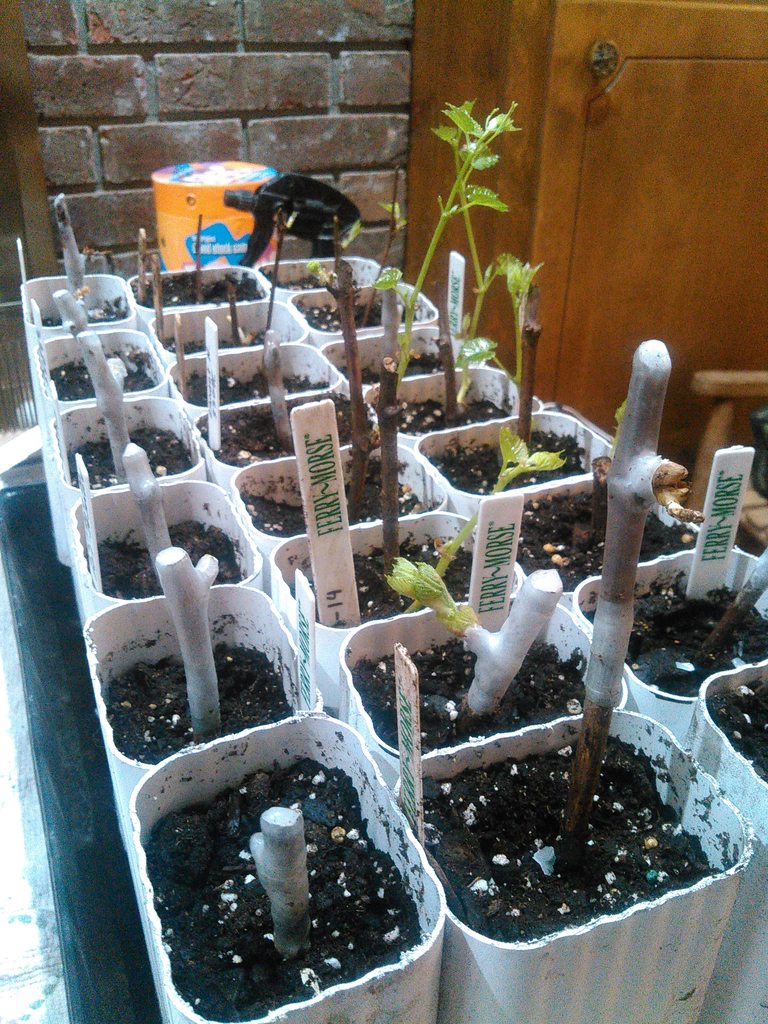
Started back mid-january, so this is a catch-up post.
Started back last year, and have been patiently waiting to work on practicing my grafting and rootstock preparation. Had some luck, actually!
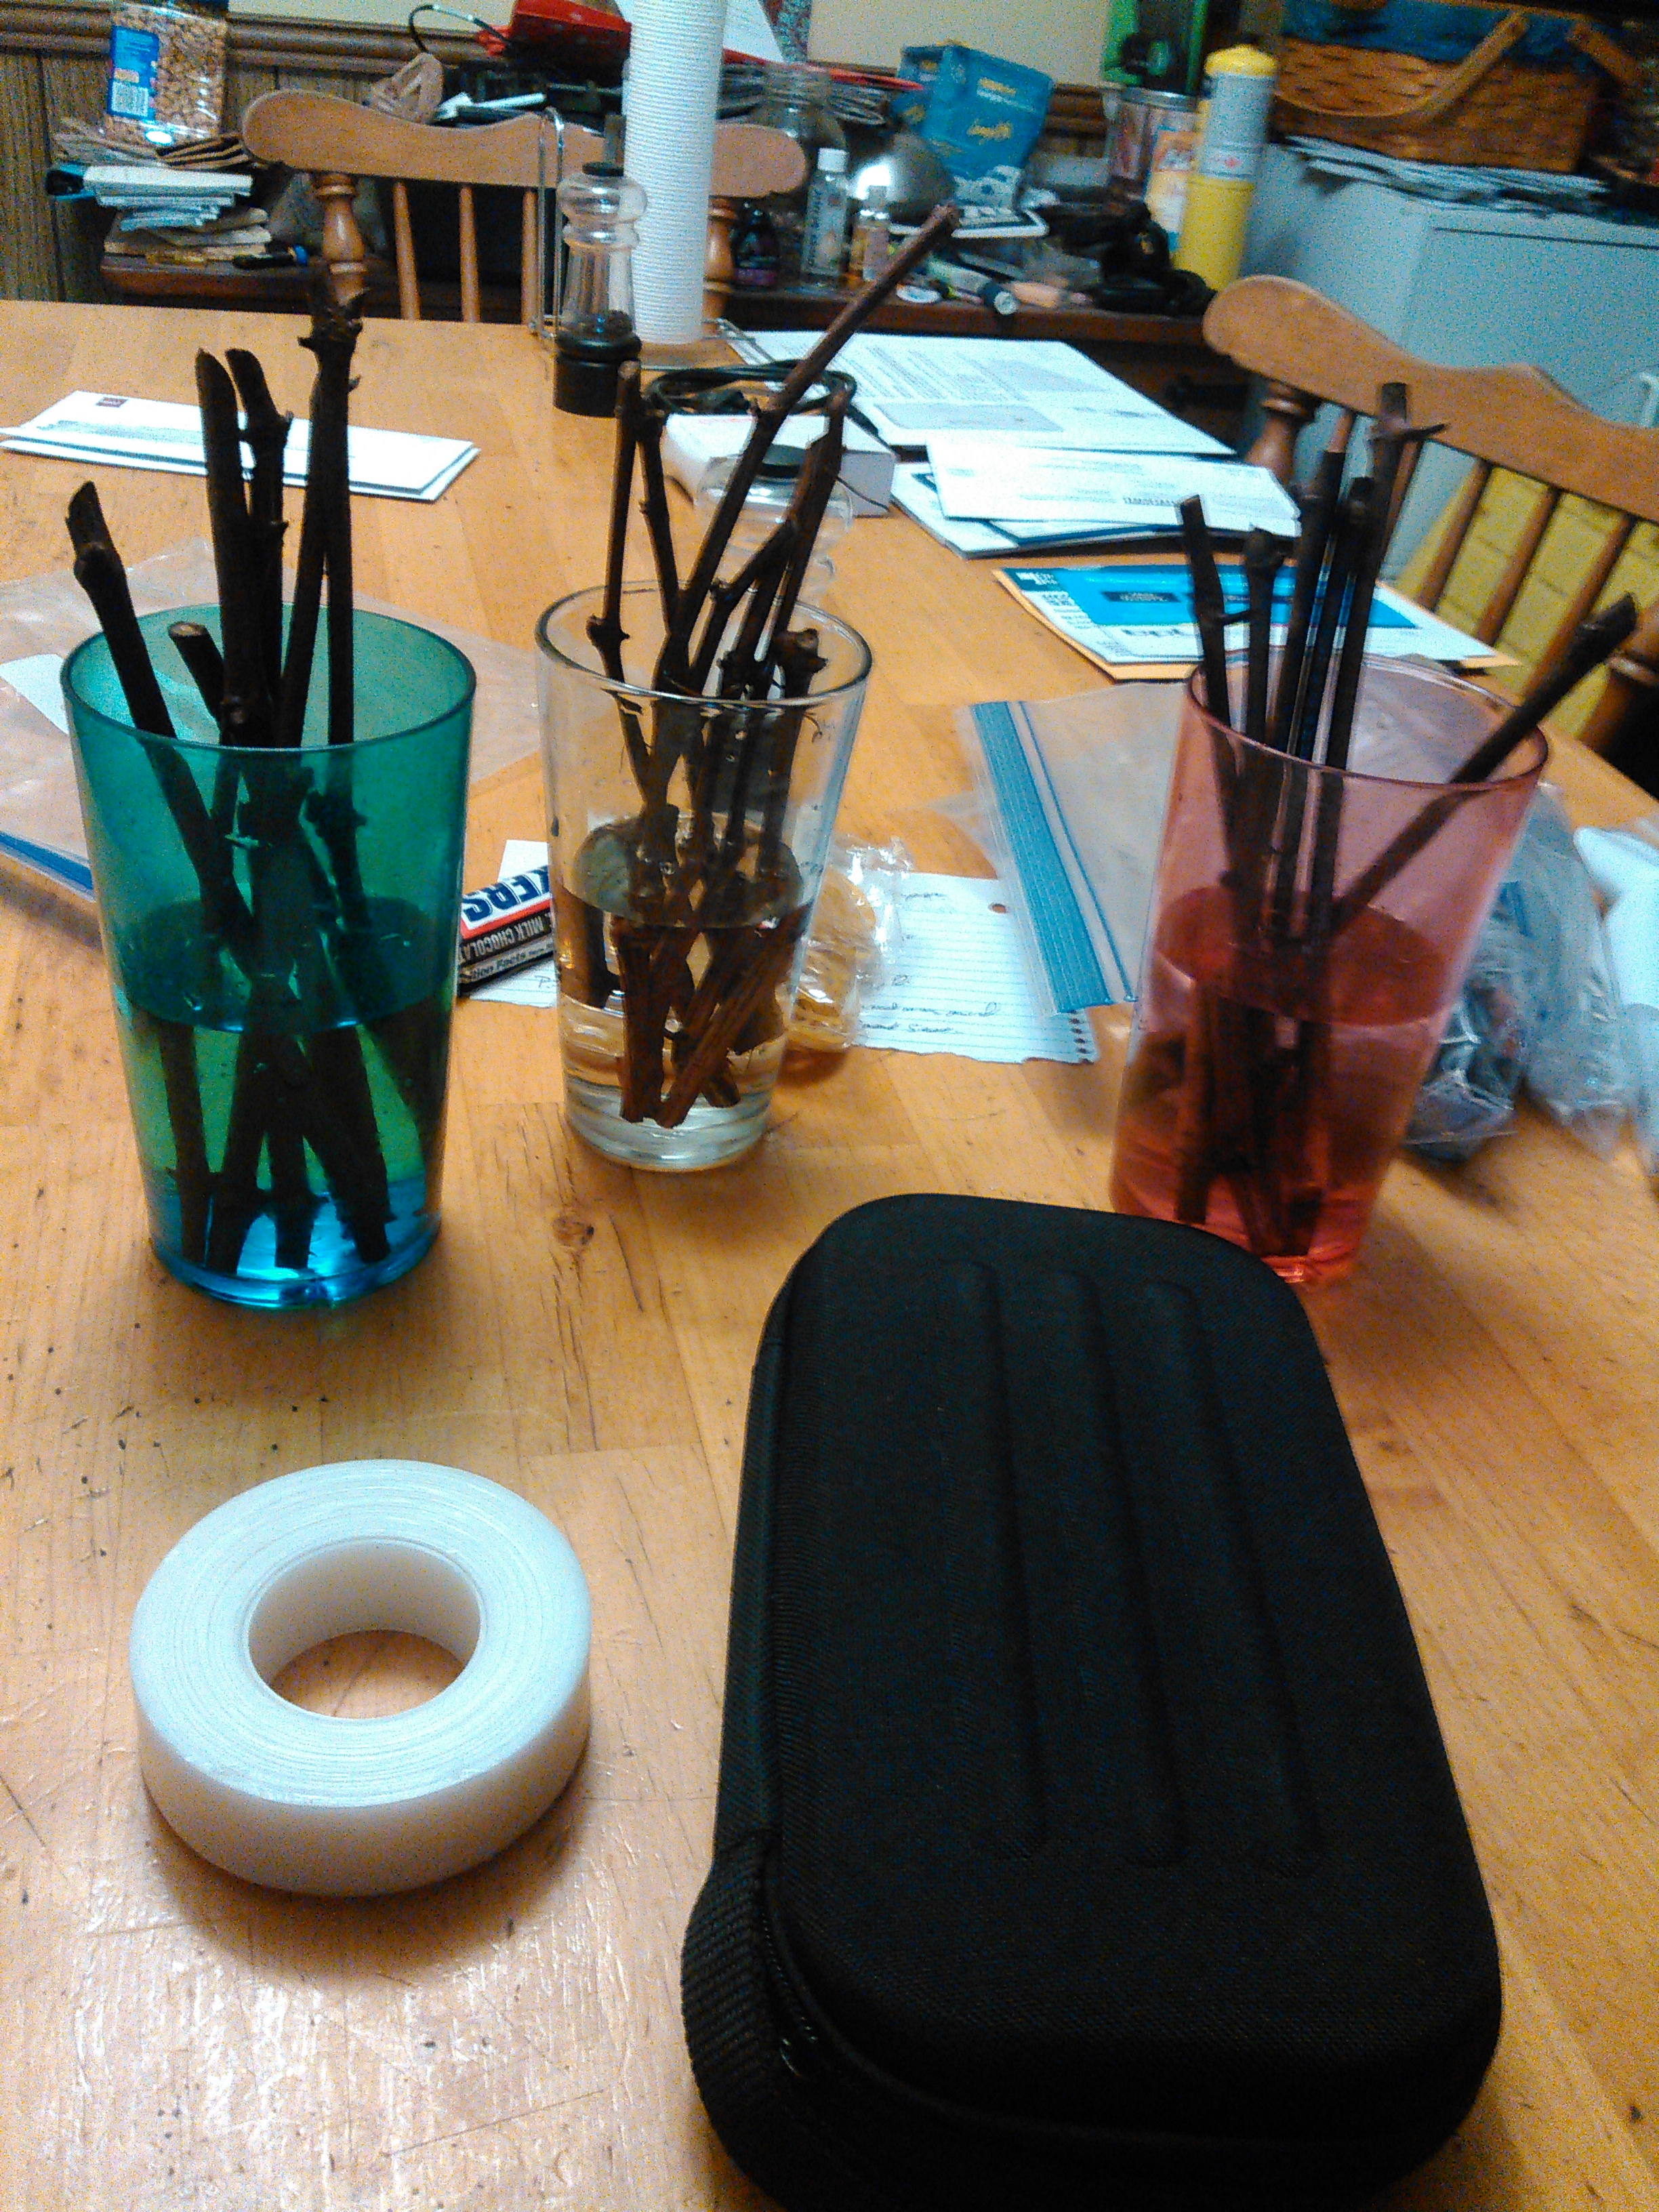
Cuttings are kept in damp paper in the fridge all winter, pulled out, and stood up in glasses of water for a few hours. Not submerged, just standing. Once re-hydrated, they get a hot water dip at 150F for thirty seconds. A quick dunk in cold water to stop any cooking, and rootstock gets disbudded.
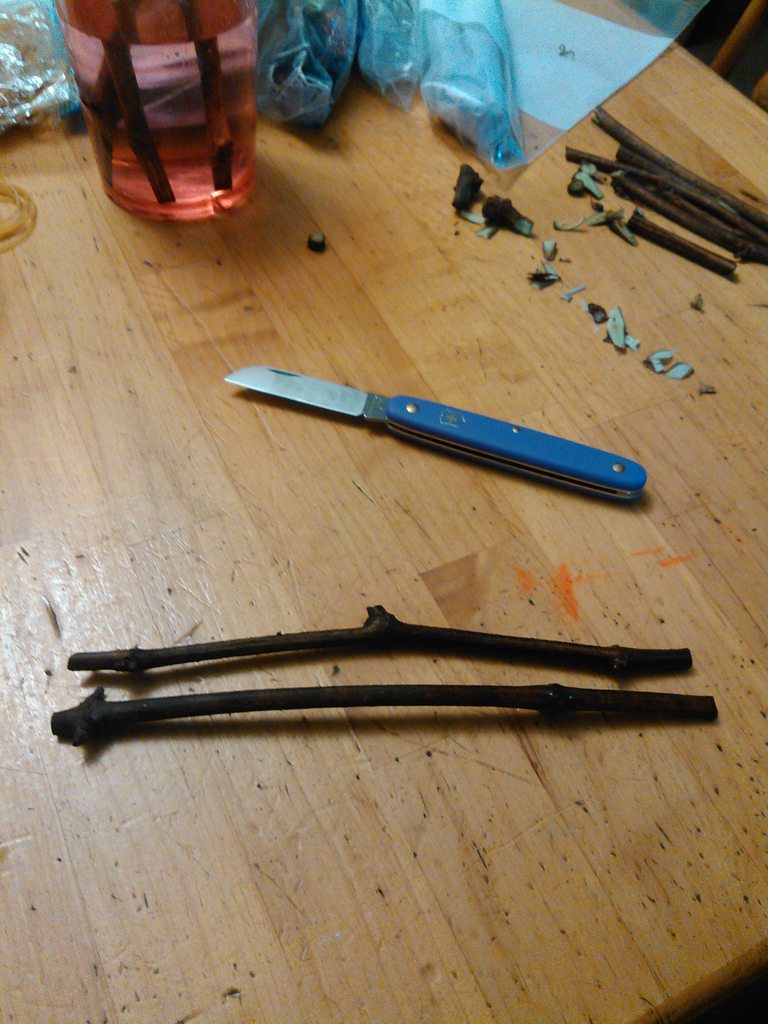
The victrinox florist's knife is a revelation in this kinda work. Get one. They're so good you don't know how bad your current knife is for this kind of work, until you have one.
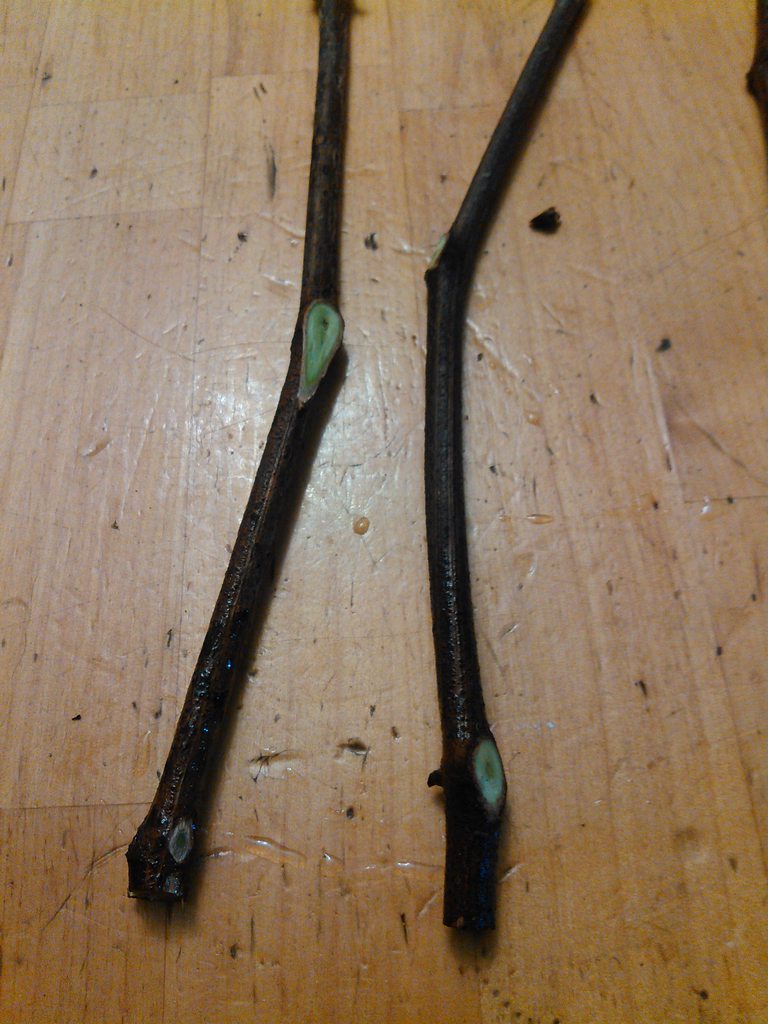
Slice off the buds carefully-if the cuttings are not fully hydrated and the knife not sharp enough, they'll tear off. Also happens sometimes even if you get everything else right-not a big deal unless it's high up on the cutting.
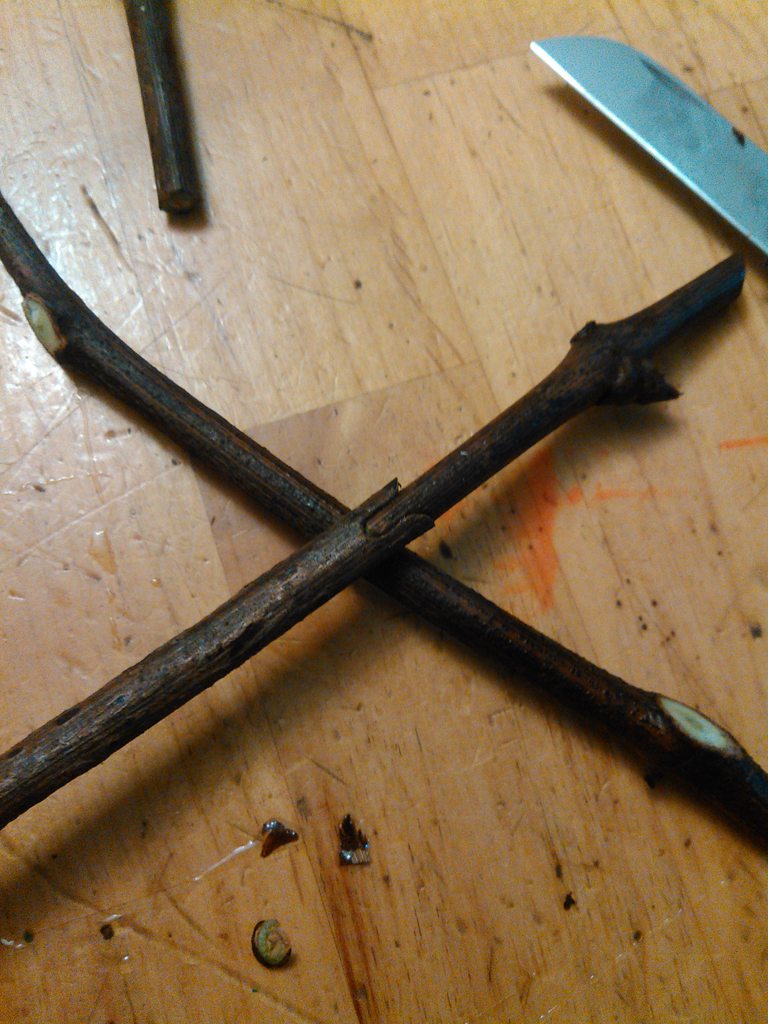
A cheap grafting tool, carefully honed, makes an OK cut. Matching up at least one side is extremely important-the better the match, the better your luck when callusing.
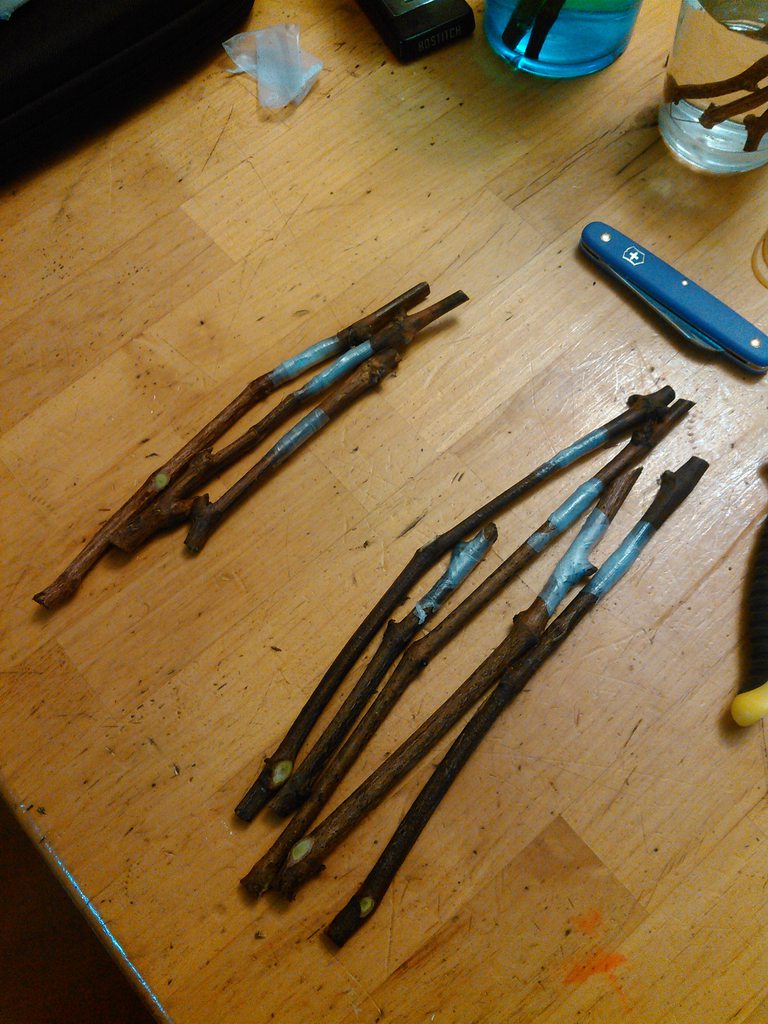
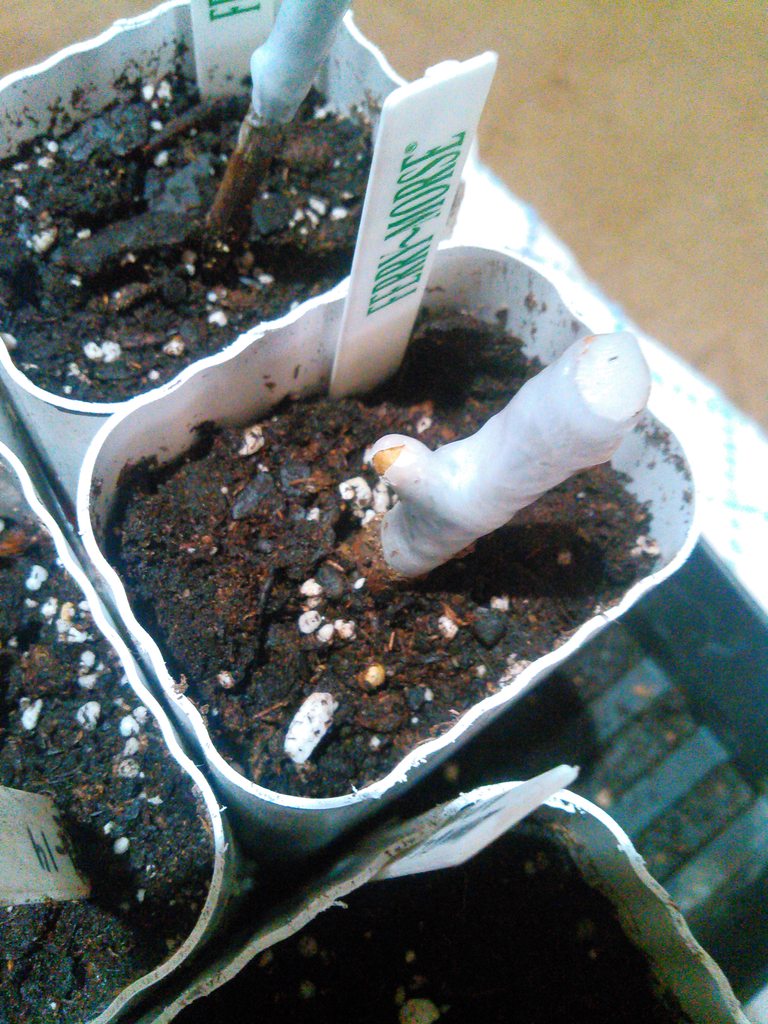
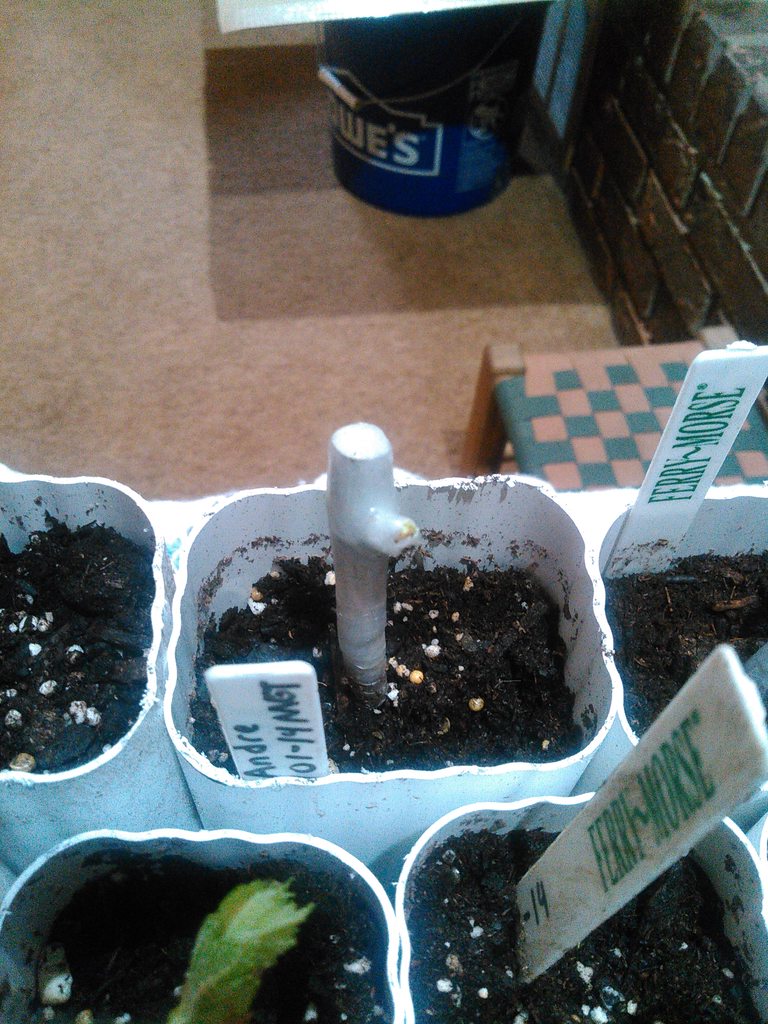
After the graft is matched, it gets taped. This is parafilm grafting tape, a paraffin based tape that is slightly elastic and self-sealing if stretched and rubbed under a thumb.
I wish I had some photos of other graft cuts-I'm not great at it but I have some Omega cuts, some whip grafts (no tongue, pinned with a stapler), and some chip buds. The chip budding is SO MUCH easier to do with the victrinox knife, and even then I have a hard time getting the back cut straight. Even a slight curve is enough to cause a failure.
After all this, the cuttings are put into a zip-top bag full of damp peat moss, but not completely sealed. Layed on a heat mat, and covered with a folded bath towel. Set the thermostat for the heatmat at 85F for two weeks, and then checked for callus tissue.
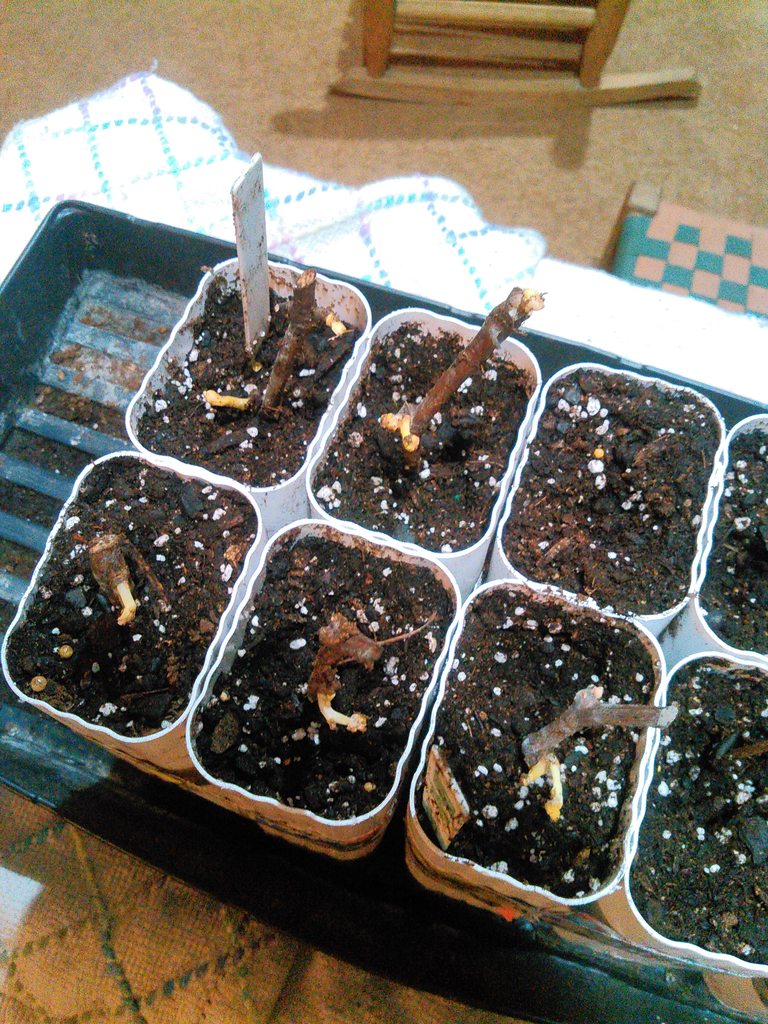
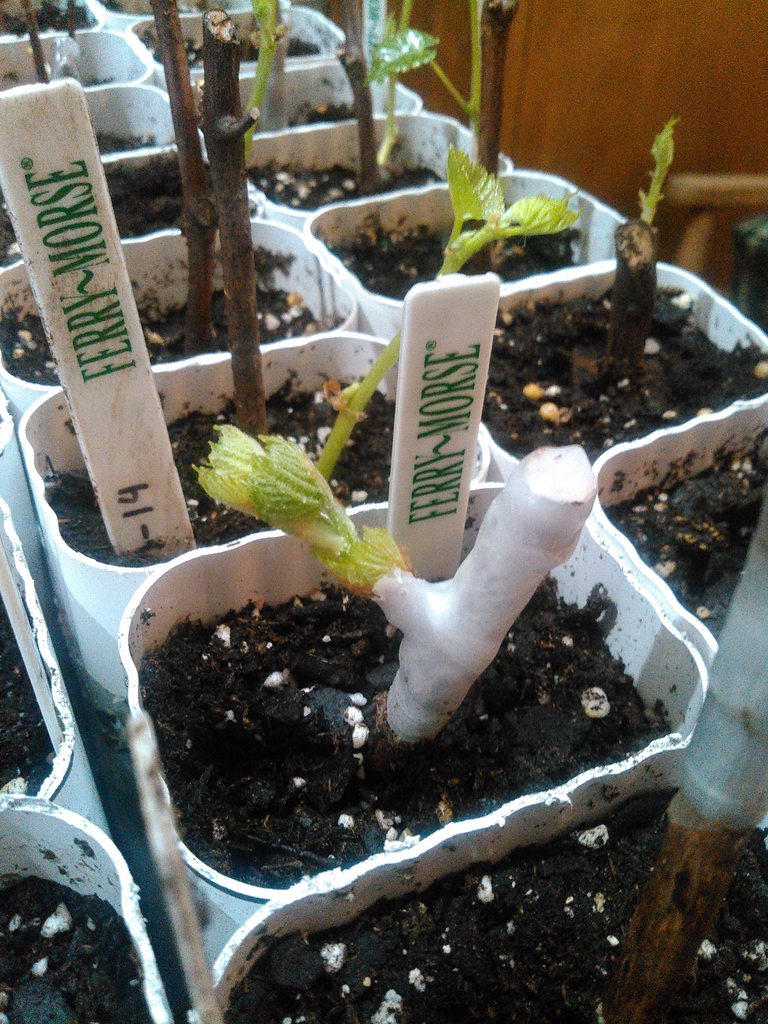
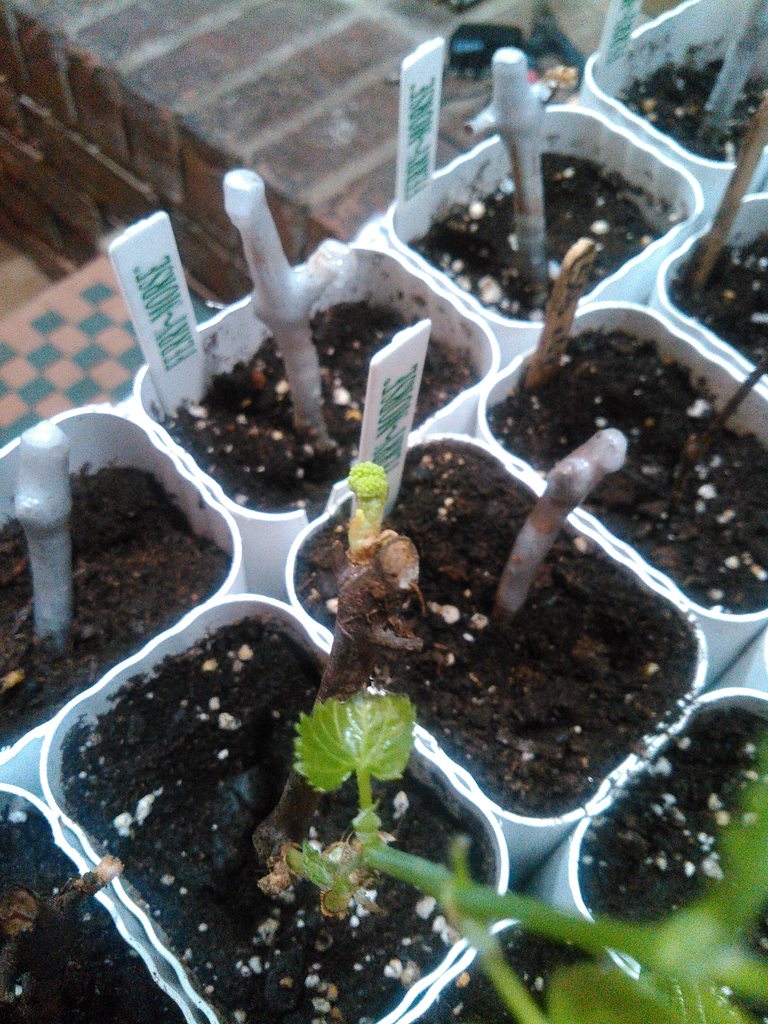
Once callus has formed, which looks like dirty cauliflower, roots will form from it at lower temperatures than formation requires, so into the grow tubes it goes. I use lengths of plastic gutter downspout, cut to 8" long and using mesh taped over the end to hold the dirt in.
If you do not wax the white, tender shoots that sometimes form while in the callusing bags, they'll dry out and shrivel up when you take them out, unless you dip them in wax. I goofed on this first round, but they're coming back out. Remember, grape nodes form three buds, but if the first one dies it still takes energy out of the cutting to grow that second one out.
More when it's warm enough to plant them outside.
Started back last year, and have been patiently waiting to work on practicing my grafting and rootstock preparation. Had some luck, actually!

Cuttings are kept in damp paper in the fridge all winter, pulled out, and stood up in glasses of water for a few hours. Not submerged, just standing. Once re-hydrated, they get a hot water dip at 150F for thirty seconds. A quick dunk in cold water to stop any cooking, and rootstock gets disbudded.

The victrinox florist's knife is a revelation in this kinda work. Get one. They're so good you don't know how bad your current knife is for this kind of work, until you have one.

Slice off the buds carefully-if the cuttings are not fully hydrated and the knife not sharp enough, they'll tear off. Also happens sometimes even if you get everything else right-not a big deal unless it's high up on the cutting.

A cheap grafting tool, carefully honed, makes an OK cut. Matching up at least one side is extremely important-the better the match, the better your luck when callusing.

After the graft is matched, it gets taped. This is parafilm grafting tape, a paraffin based tape that is slightly elastic and self-sealing if stretched and rubbed under a thumb.
I wish I had some photos of other graft cuts-I'm not great at it but I have some Omega cuts, some whip grafts (no tongue, pinned with a stapler), and some chip buds. The chip budding is SO MUCH easier to do with the victrinox knife, and even then I have a hard time getting the back cut straight. Even a slight curve is enough to cause a failure.
After all this, the cuttings are put into a zip-top bag full of damp peat moss, but not completely sealed. Layed on a heat mat, and covered with a folded bath towel. Set the thermostat for the heatmat at 85F for two weeks, and then checked for callus tissue.

Once callus has formed, which looks like dirty cauliflower, roots will form from it at lower temperatures than formation requires, so into the grow tubes it goes. I use lengths of plastic gutter downspout, cut to 8" long and using mesh taped over the end to hold the dirt in.
If you do not wax the white, tender shoots that sometimes form while in the callusing bags, they'll dry out and shrivel up when you take them out, unless you dip them in wax. I goofed on this first round, but they're coming back out. Remember, grape nodes form three buds, but if the first one dies it still takes energy out of the cutting to grow that second one out.
More when it's warm enough to plant them outside.
Last edited:


