Diy hlt

Winemaking Talk - Winemaking Forum

Help Support Winemaking Talk - Winemaking Forum:

This site may earn a commission from merchant affiliate links, including eBay, Amazon, and others.

Wade E

Premium
Joined
Jul 3, 2006
Messages
33,224
Reaction score
291
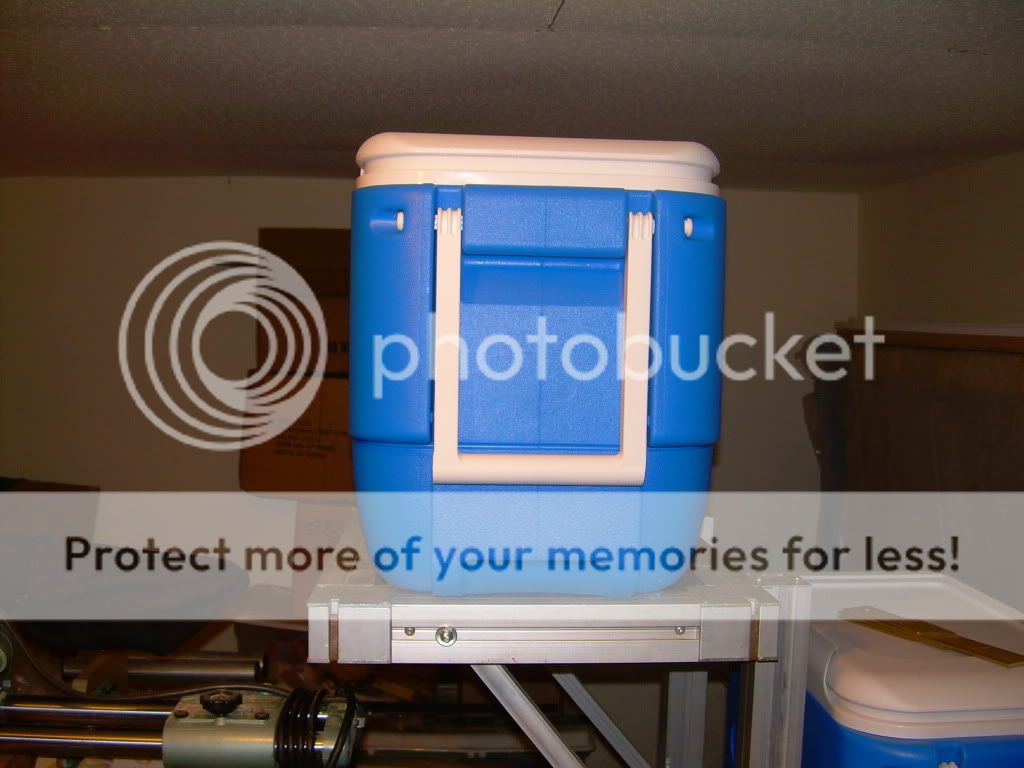
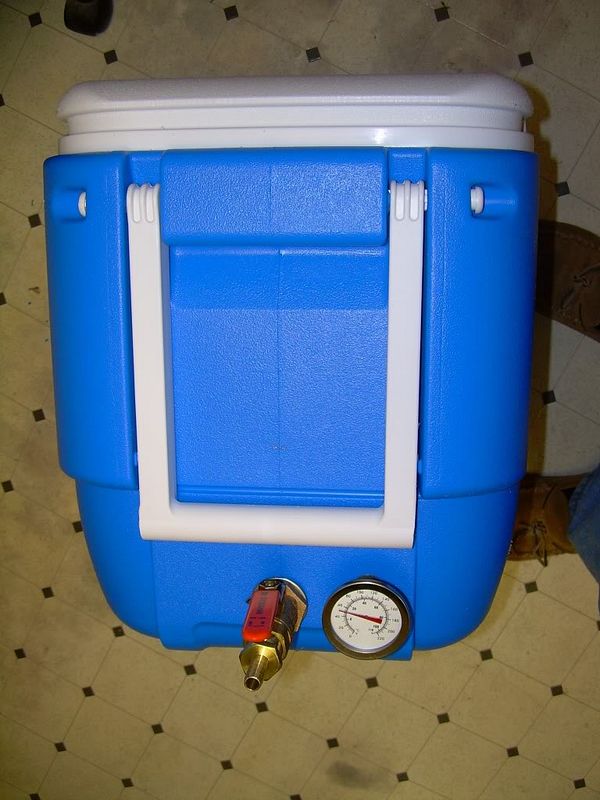
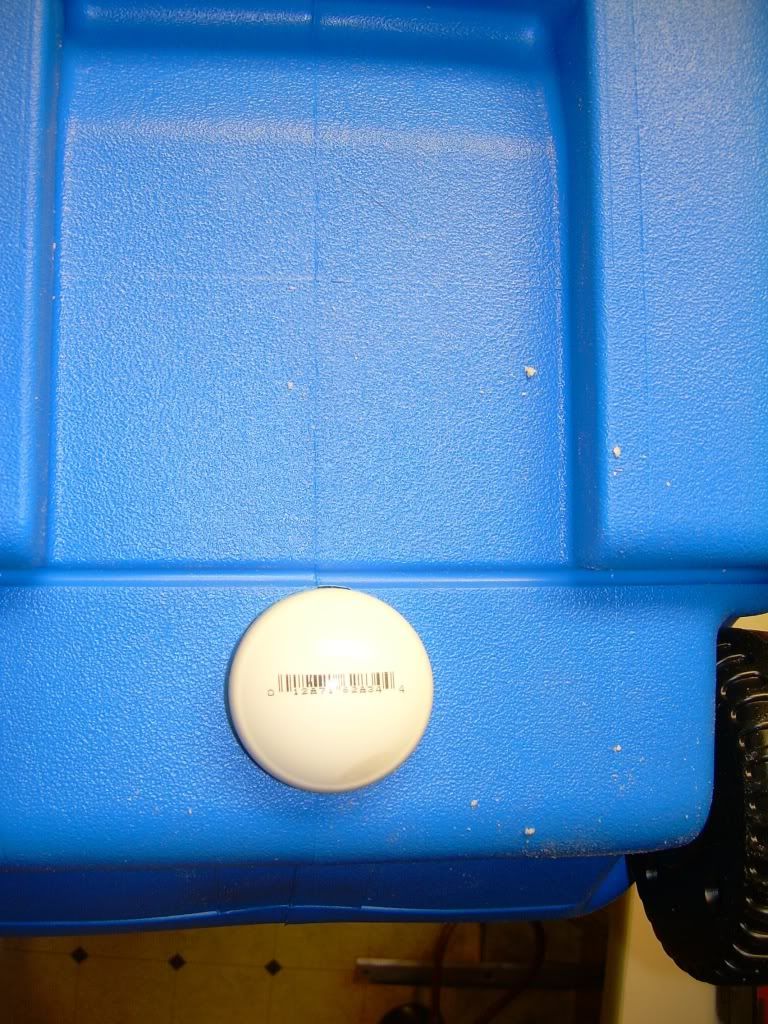
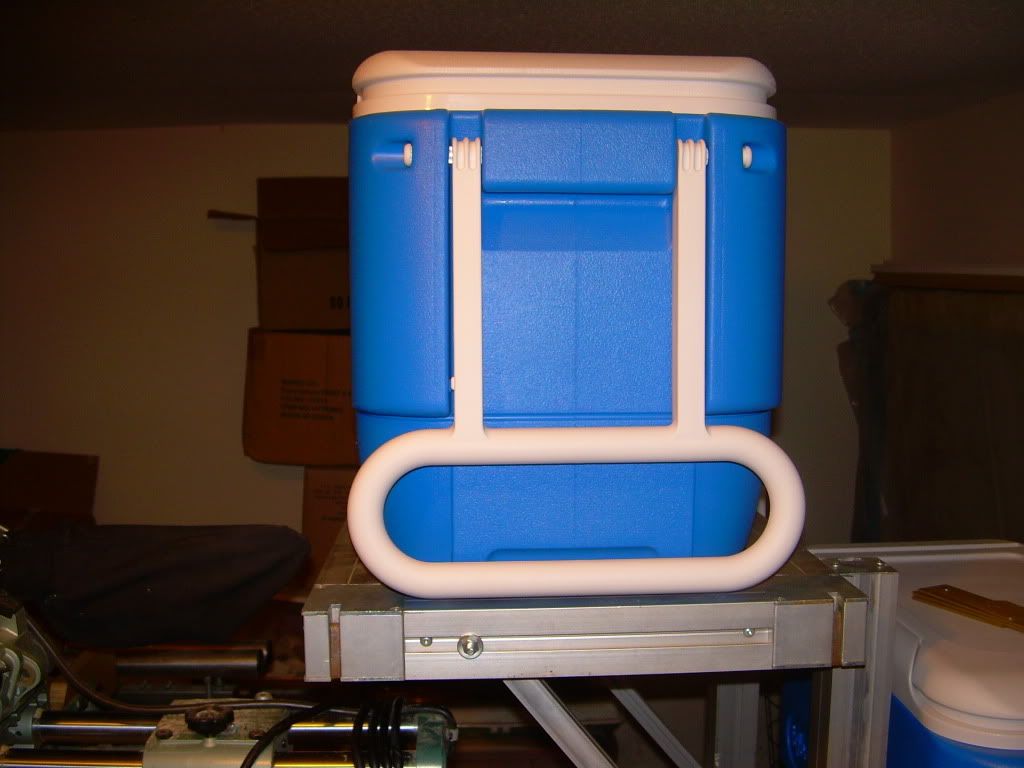
here is the start of my electric Hot Liquor Tun for making beer. It is a Target 32 quart Igloo cooler for $19.86. I am adding a 1500 watt hot water heater element, a ball valve for draining into Mash Lauter Tun in which the grains steep in. I am also adding a temp gauge in it to make sure I get it up to temp and as a check that my electric temp control unit is accurate. First I had to cut the handle down as it would protrude with where the ball valve and thermo will be located. I used my chop saw for this. Next I needed to locate a spot where I can safely drill through the cooler at its lowest point but still have room for a big washer inside the cooler and the O ring that seals it. I used a 7/8" hole saw for this. Next I drilled a 3/8' hole for where the bulkhead goes through that holds the thermo . I wanted to also keep this low for small grain bills that dont require much water. I was going to also do the hole for the heating element tonight also until I realized that my holesaw set skipped from 1 1/8" - 1 3/8" which of course I needed 1 1/4"!!!!!!!!!!!!!! :re:po:m Oh well, guess I have to go grab one of those at work tomorrow if we have 1 or back to Home Cheapo! More to follow in the next few days.
HLT1.jpg

HLT2.jpg

HLT3.jpg
 
Wade,
I know nothing about making beer, but it looks really nice! If/when I get into beer I'm sure I'm going to want/need one. :)
 
Looks good. I'm looking forward to seeing more detail on how you hook up the electric heating element. Is it going to require 220?
 
Whenever I upgrade my brewery, I would love to make it electric so I can brew inside.
 
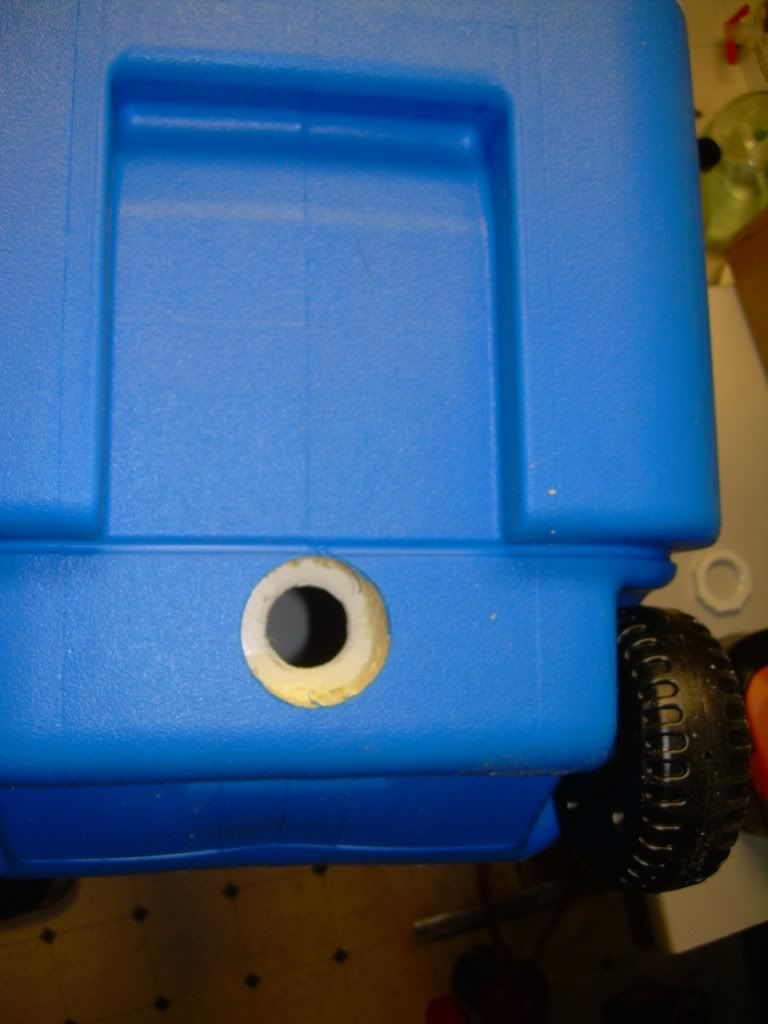
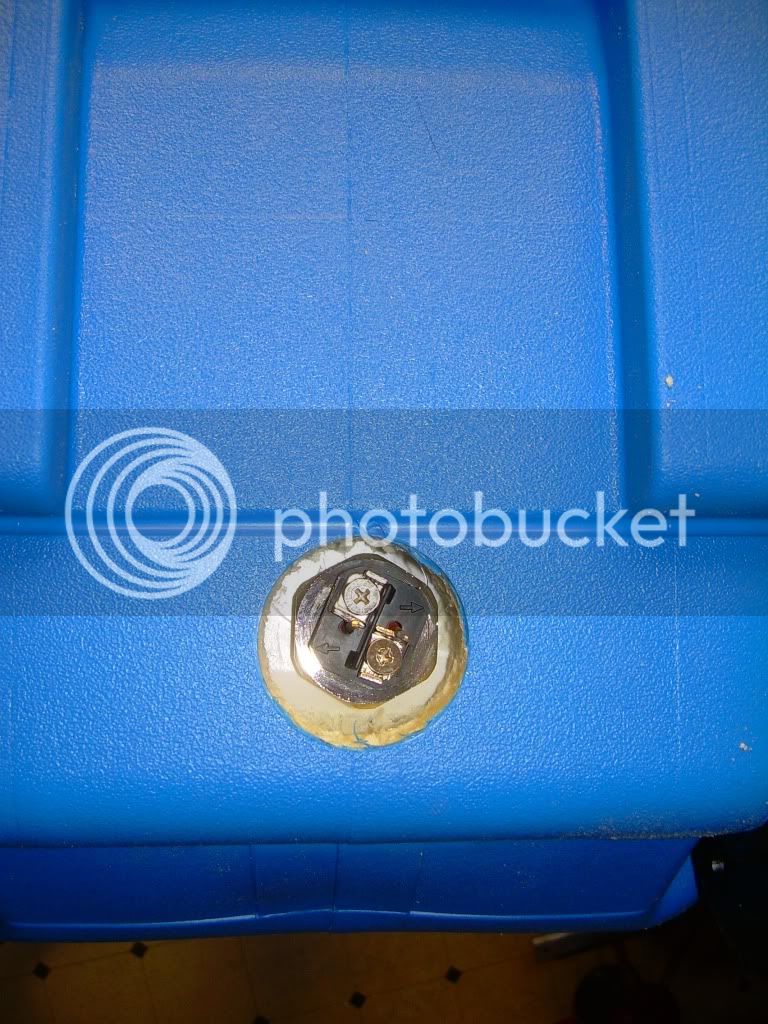
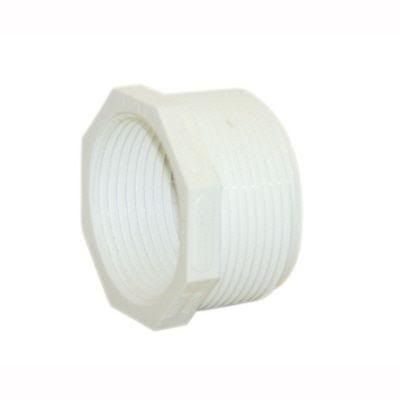
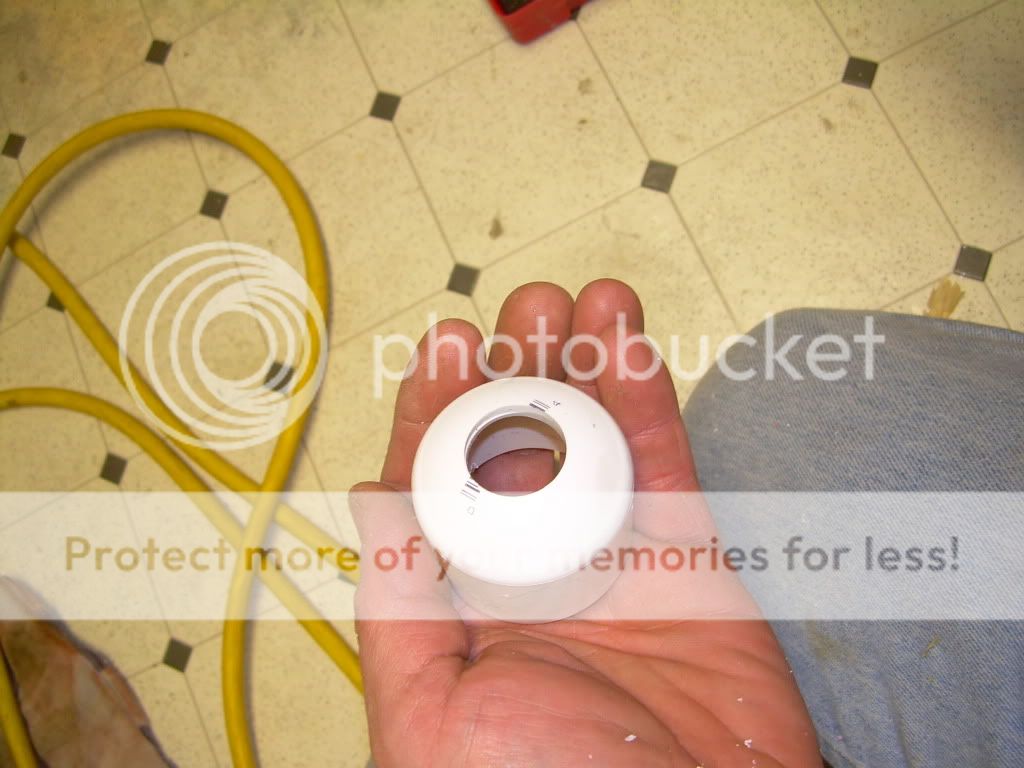
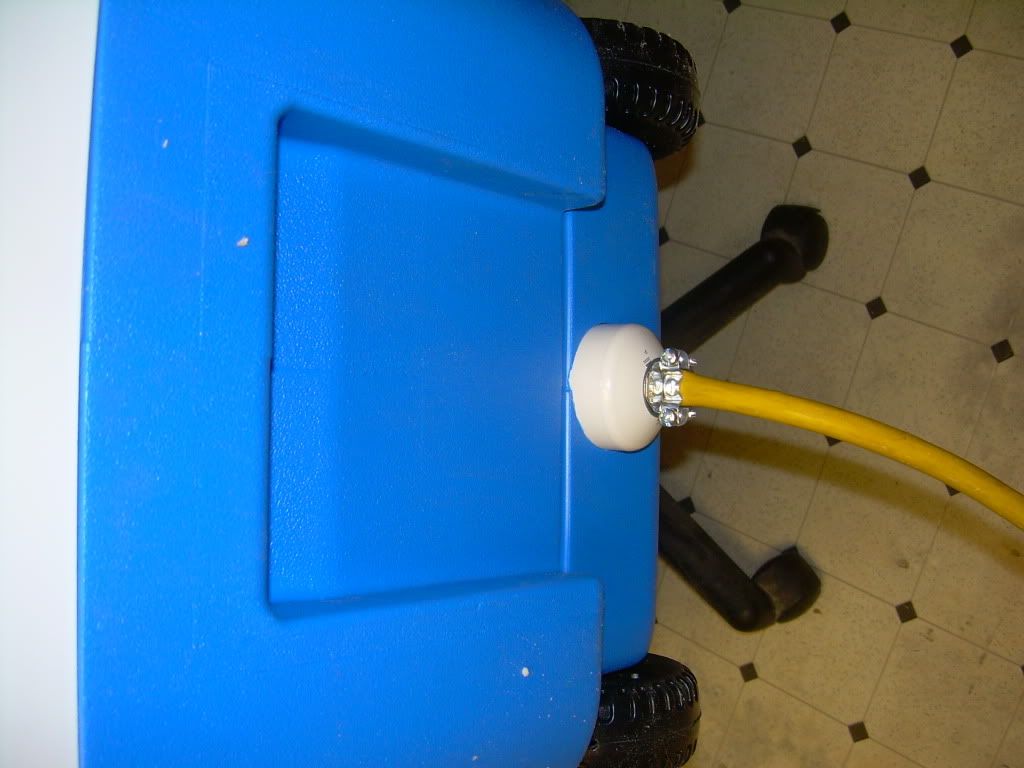
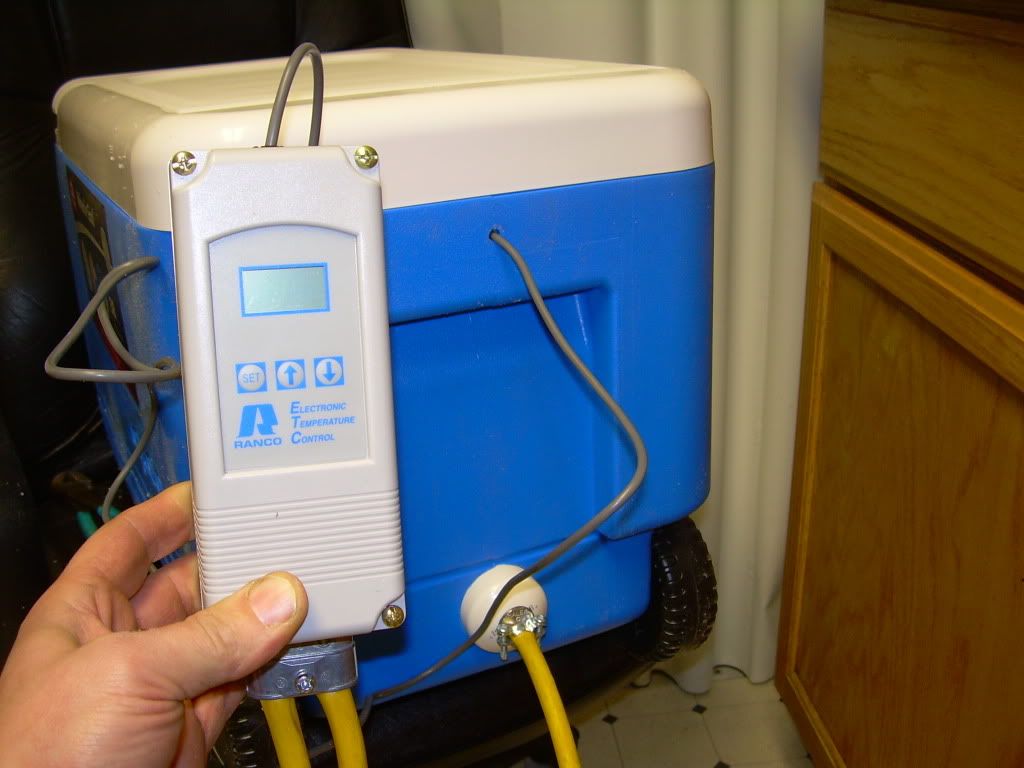
Okay, did a little more work to it today. Brought home the 1 1/4" hole saw that was in my toolbox at work by the way. First I locared where it had to be to clear the angled bottom of the cooler but keep it as low as possible. I then drilled a 2" hole to clear the fixture that will encase the outside of the water heater element which is a PVC endcap, then I drilled the actual hole where the heating element goes. The heating element comes with a rubber seal for installing in w ater heater but you have to add one on the inside also which i found a silicone gasket at Home Depot in the sink repair area. You also have to get a pvc bushing and cut everything after the hex part off to use it as the nut on the inside of the heating element. I will contnue this saga in a few daus when I get some electrical fittings, 1 for the PVC cap that the heating elemnt wire will run through and another for my Johnson digital temp. controller.
HLT4.jpg

HLT5.jpg

HLT6.jpg

Bushing.jpg
 
Wired up the temp unit today and picked up the copper for the grounding washer.
 
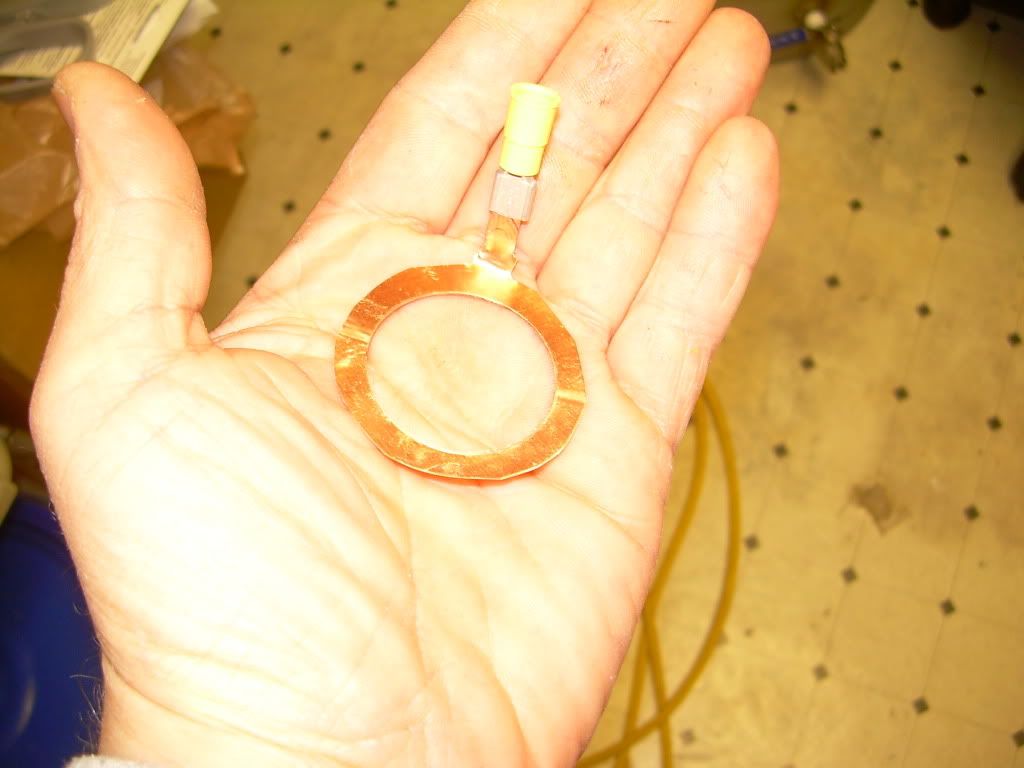
Its done now. I couldnt find a sheet of copper that was worth buying for the little grounding washer that I needed so I bought a newel post angled cap for $2.34, cut the angled ends and then pounded it flat. I then pulled oy mu 1 1/4" hole saw and drilled a hole in it making sure there was enough room at one point to leave a tab for the ground wire. here is the end result of this and this little part is very important to this project if you anything about electricity!:sh
This copper washer goes in between the gasket and the heating element to ground everything.
HLT7.jpg
 
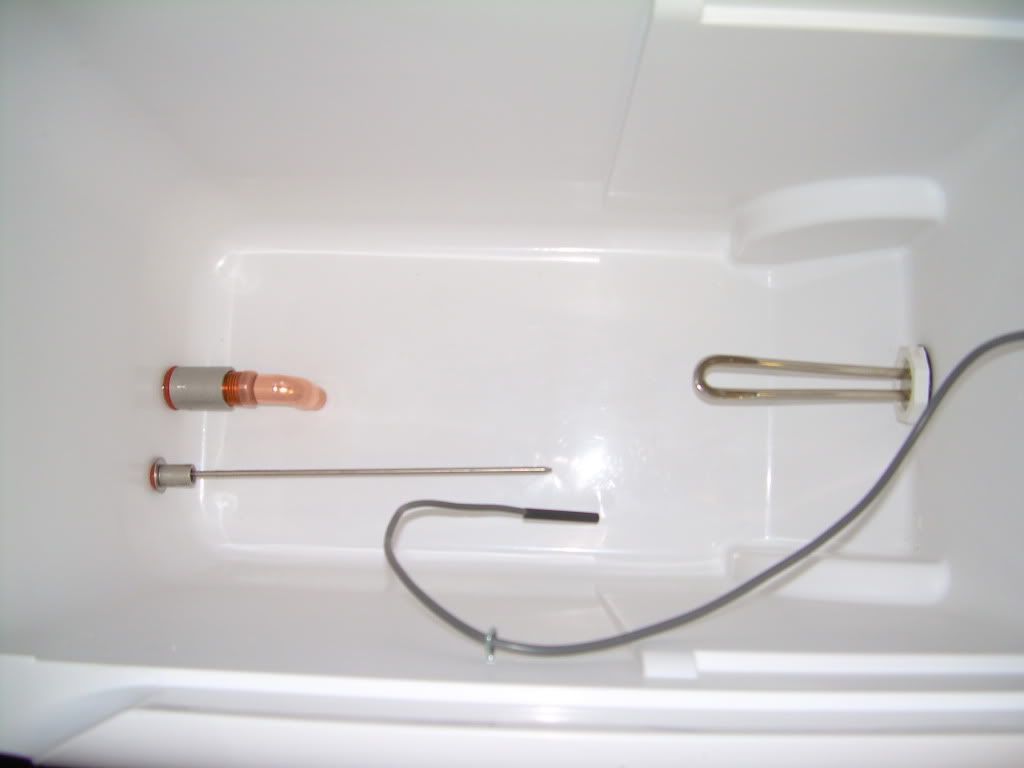
I then drilled a hole through the PVc end cap and attached a wire clamp to it so that the wires wouldnt be exposed that connect to the heater element. I finished connecting the wires, drilled a small hole through the cooler for the temp probe and little eye hook to keep the probe out of harms way of the heater element. I also soldered a few pcs of copper with an elbow so that I could get all the water out of the cooler(Dip Tube). Thats it. Its a little bit of work but way cheaper then buying 1 and building its mostly fun. Ill test it later as I want to do some work to the keggle now.
HLT8.jpg

HLT9.jpg

HLT10.jpg

HLT11.jpg
 

Latest posts

Back
Top