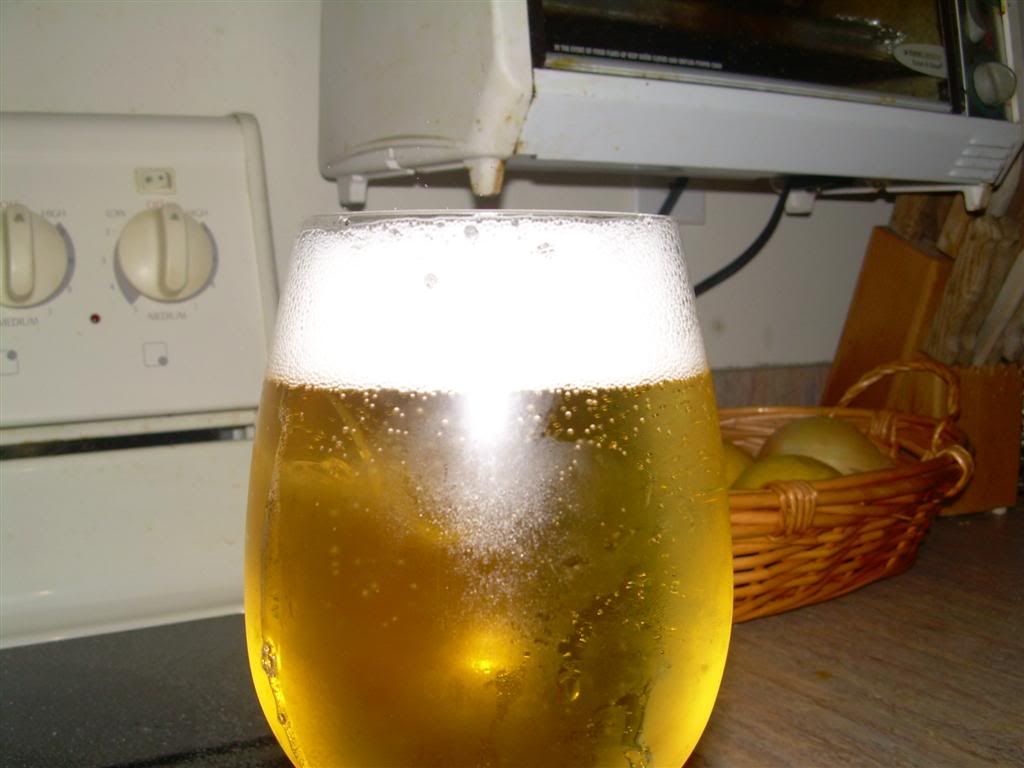
This is how I did mine
Sparkling Wine
1. It is best to plan for your sparkling wine before starting the winemaking process. Select desired grape variety based on your preference. Traditional French Champagnes are made from Chardonnay, Pinot Meunier and/or white juice of Pinot Noir. Asti-Spumante is made from Muscat. New York State “champagnes” are usually a made of Catawba, Seyval Blanc and/or Delaware and Cold Duck is made from Concord. Other fine sparkling wines are made from Riesling, Niagara or several of the hybrids. Make 5 gallons of a clear, sound, still white wine (cuvee), as normal, but with the following specifics:
a. Adjust for sugar to make it about 10% alcohol.
b. Initial acidity should be between 0.8 and 1.1% (slightly high).
c. Use any regular wine yeast, such as Montrachet or EC-1118.
d. Perform first racking, as normal, with the addition of about
45 ppm. SO2.
e. Cold stabilize and perform 2nd and 3rd rackings without adding any more SO2, taking precaution to not oxidize the wine, and keeping the container full.
2. When clear, perform the following:
a. Siphon out about 2 quarts of wine, into 2 separate containers.
b. To one of the quarts dissolve in the following:
- 1¼ cups cane sugar (yield about 50 psig)*
- 1 tbsp. yeast nutrient
- 1 package yeast (EC-1118)
NOTE: * Each ¼ cup of sugar will ferment 5 gallons to about 10 psig. Although new, sound champagne bottles are made to withstand 100 psig. (Except Andre’s – they are a lower grade of bottle.), it unsafe to exceed 60 psig. Sparkling wine of about 30 psig. can be made quite safely and is referred to as “cremant”.
c. Stir the mixture back into the cuvee.
d. “Top” the container with the second quart of wine.
e. Replace fermentation lock.
3. When fermentation has started (24-48 hours), bottle the cuvee in sterile, clean, sound champagne bottles, using crown caps for closures. Be sure to stir the cuvee while bottling, to keep the yeast in suspension.
Sparkling Wine (continued)
4. Store the bottles on their sides for about a year. During this time, the fermentation will be completed and the yeast cells will die and decompose, adding a desirable “yeasty” flavor and aroma to the wine.
SAFETY NOTE: Whenever handling the bottles under pressure, wear goggles, a face shield and leather gloves, as many of the following steps require treating the bottles in a rough manner. A bottle of champagne is not worth risking the loss of an eye due to an exploding bottle.
5. After a few months, vigorously shake the bottles and place them neck down in a “riddling” rack.
6. Riddle twice per day, giving the bottles ¼ turn and slamming bottle into rack, for about 3 weeks (or when all the yeast and sediment have moved to the bottle cap and the neck is clear).
7. To finish the sparkling wine at the desired sweetness, make up 2 bottles (50 oz.) of the “final dosage”, adding wine or brandy and ¼ tsp. potassium meta-bisulfite to the desired amount of sugar and dissolving completely, as follows:
- Natural totally dry, use sound still white wine to replace volume
- Brut .5 to 1.5% sugar, 1 to 2 cups sugar
- Extra Dry 1.5 to 2.5% sugar, 2 to 4 cups sugar
- Dry 2.5 to 3.5% sugar, 4 to 6 cups sugar
- Semi-Sweet 3.5 to 4.5% sugar, 6-8 cups sugar
8. Chill the bottles and the dosage to about 32 deg. F.
9. When the bottles are cold, freeze the necks by submerging them in rock salt and ice (or placing in a freezer).
10. When the necks are frozen, rinse the neck in warm water to clean off the salt and loosen up the plug of ice.
11. While holding the bottle at about a 45-degree angle upward, quickly remove the bottle cap and place your thumb over the end. Since there may be wine spraying, it is best to perform this step in an area that won’t be damaged or tape a sheet of plastic around the laundry tub area.
12. While keeping the bottle tilted, slowly add 2 ounces of the cold “dosage”.
13. Insert the corks or closures, and secure with a wire hood. If using real champagne corks, adjust the corker to not allow the cork to be inserted too far, or it may never be removed! Then place the wire hood over the cork and use a capper to compress the cork into its familiar mushroom shape.
14. Gently shake and turn the bottle to mix in the dosage.
15. Store the bottles for another month before serving well chilled.


