TasunkaWitko
Junior Member
- Joined
- Mar 8, 2016
- Messages
- 99
- Reaction score
- 31
Lacto-Fermented Pickle Chips
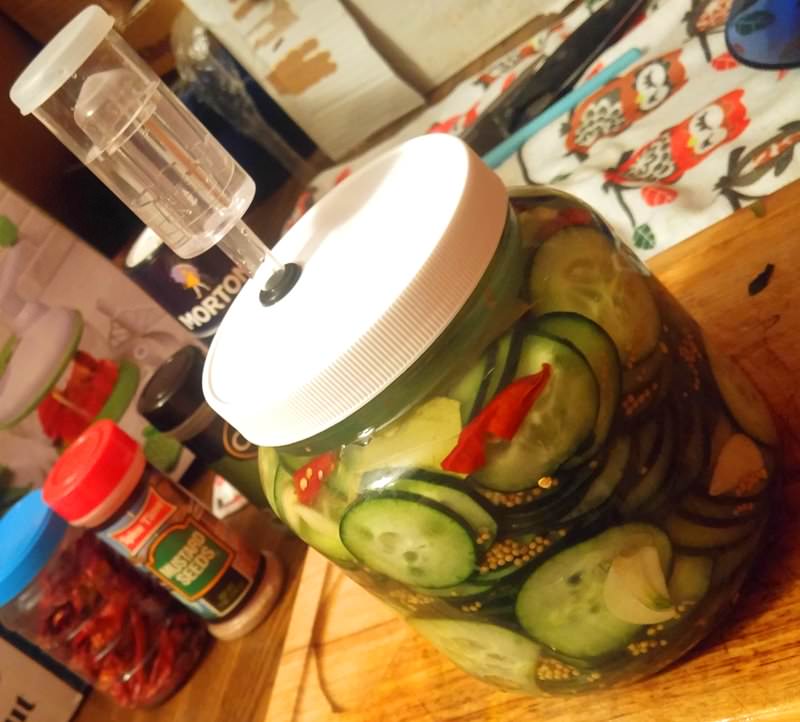
Last night I started a new project with my "Kraut Kit" from FarmSteady:
http://farmsteady.com/shop/kraut-kit
As we've discussed before, the kit is probably a bit over-priced; but to be honest, after looking up the individual components, I don't think it is too far out of line. A person could cobble something together for much, much less, to be sure, but I like the convenience and the inspiration that comes from following FarmSteady as they try different things.
My previous sauerkraut project turned out really well - even better after some time in the refrigerator - so I figured I would try something new. The kit, of course, can be used to ferment many, many things, so it was a natural step to take; in fact, I suspect that FarmSteady is phasing out the "Kraut Kit" in favour of an identical kit packaged as a "Fermented Vegetable Kit:"
http://farmsteady.com/shop/fermented-vegetable-kit
The instructions are simple:
http://farmsteady.com/fermented-vegetables/
So simple that even I could manage it...almost. I did end up having a couple of minor glitches...more about that, later.
The kit ferments 2 quarts of whatever you want to ferment, so I bought 5 cucumbers for the project, which ended up being really close to the right amount. Everything else that I needed, I already had at home: kosher salt, beautiful, fresh, locally-grown garlic, dried red chile peppers, bay leaves, mustard seed....I didn't have any fresh dill, but I did have dried dill weed, and dill seed, if needed.
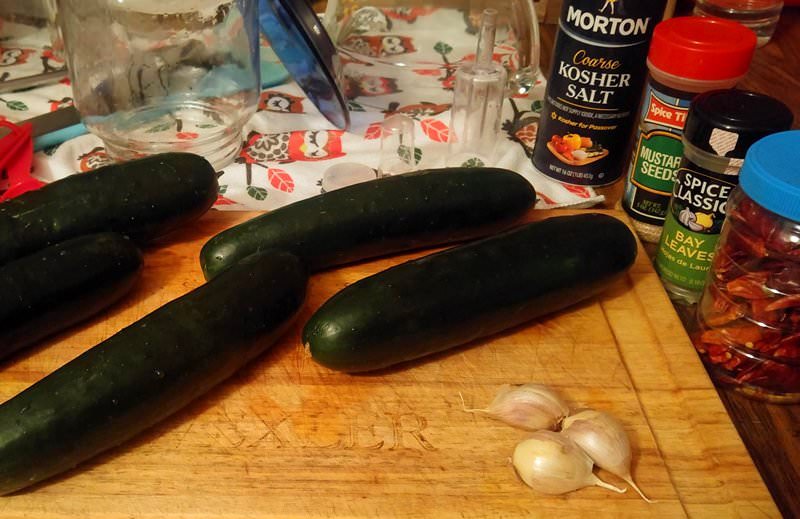
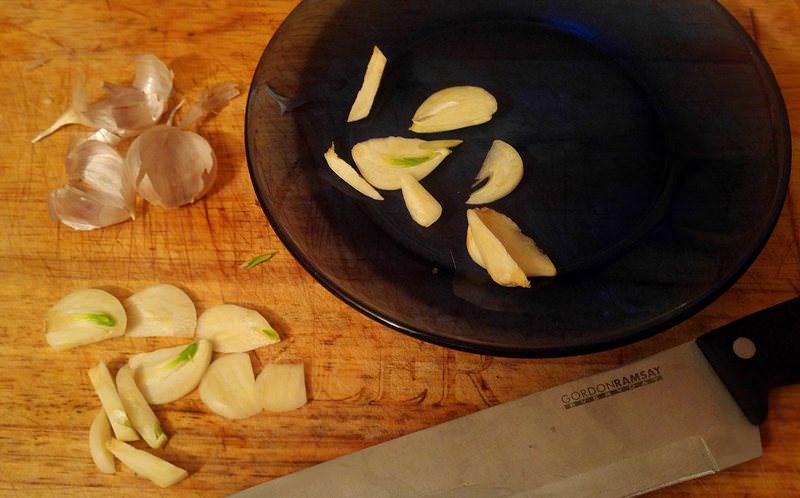
After cleaning and laying everything out, I began. I started by roughly chopping the garlic cloves; however, after the first one, I switched to slicing them into "chips," for a better look:
Next, I sliced the cucumbers; I considered slicing them by hand with a knife, but neither my knives nor my knife skills are very good, so I decided to try a tool that my oldest son, Josef, had gotten me for Christmas:
http://a.co/1a4dJ9i
This thing is pretty handy, actually; with the "whirly-bird" blade, I had previously reduced a head of cauliflower to rice in about 15 seconds.
This was the first time that I used the slicer attachment; because I was distracted by something else happening at the moment, I neglected to use the hand guard...and paid the price with a very nasty cut to my pinky finger. Let my mistake be a lesson: ALWAYS USE THE HAND GUARD!
While I tended to my sliced finger, my youngest son, Roger, finished slicing the cucumbers for me:
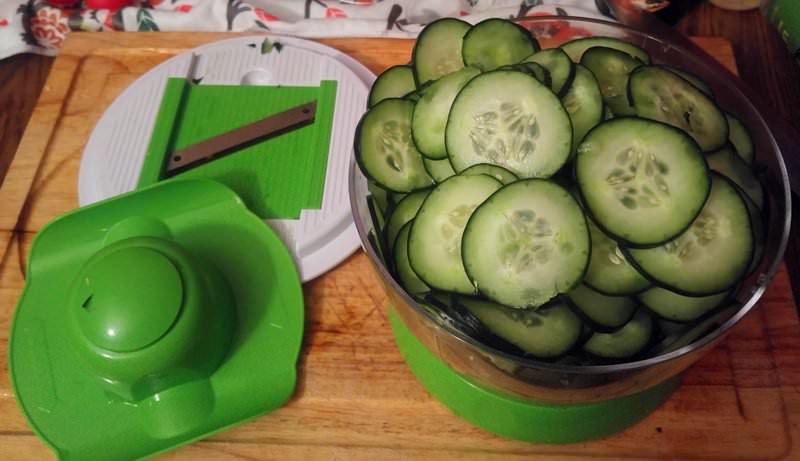
Five cucumbers seemed like just enough, if anyone is keeping track.
Next, I dissolved 2 tablespoons of kosher salt into two quarts of warm water:
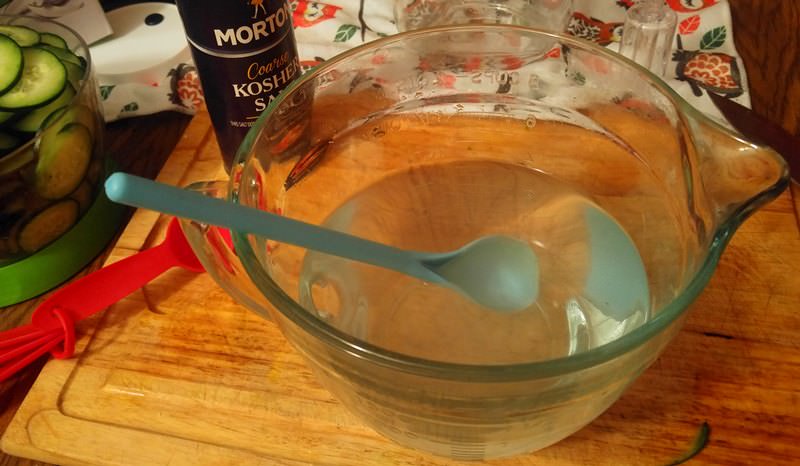
Strictly following the instructions, I probably should have done this before prepping the cucumbers and garlic, but I am sure that it will be fine.
The instructions didn't specify whether the water should be chlorinated or not; we have a spring south of town, and I could have gotten some water there, but ultimately chose not to. I did have half a litre of spring water on hand, so roughly half of this water was mildly chlorinated. I'm sure it will be fine, but I hope that I don't regret that decision.
Once the salt was dissolved into the water, I started adding the sliced cucumbers to the fermenting jar:
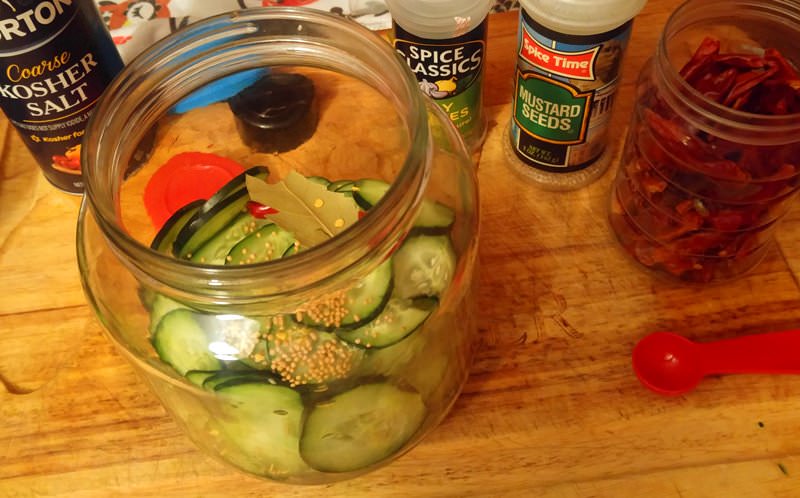
Intermittently, I added some of my garlic, a bay leaf, a broken-up chile pepper and a teaspoon of mustard seeds now and then.
I continued this layering until I ran out of cucumber slices:
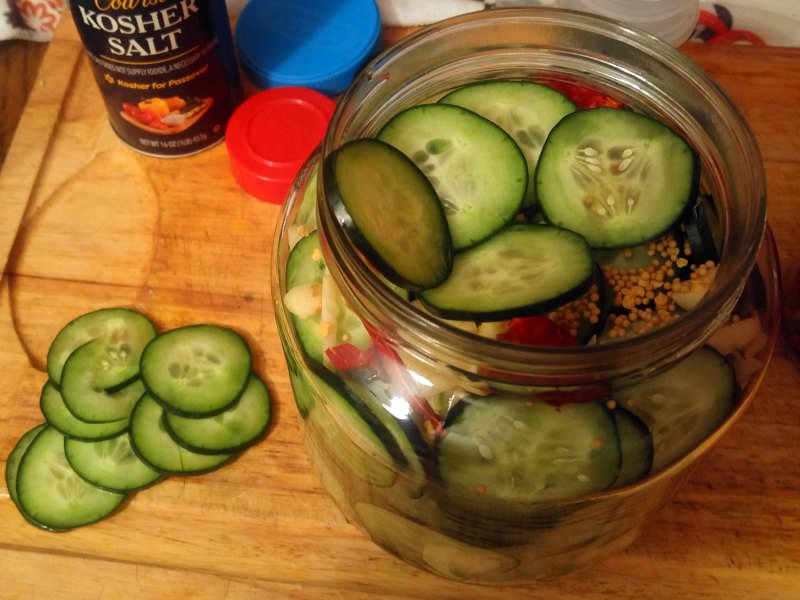
Coincidentally, this was right when I reached the top of the jar.
I then topped with a layer of cucumbers:
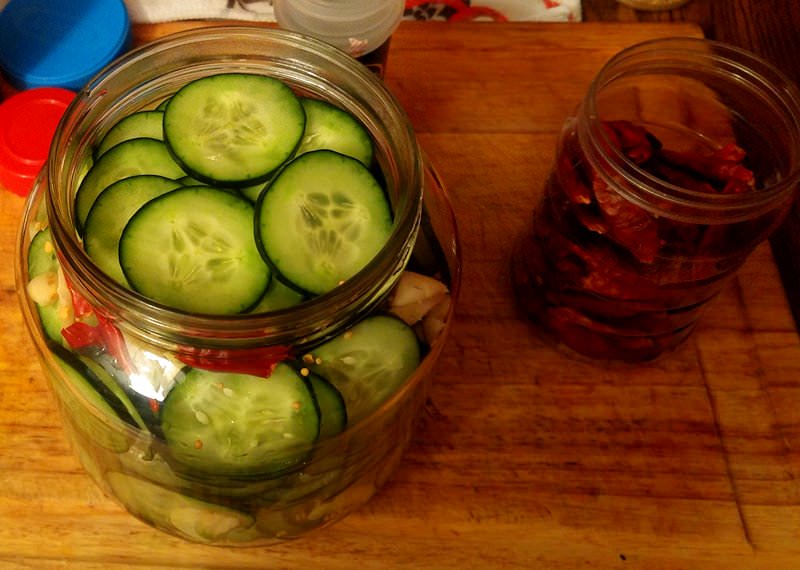
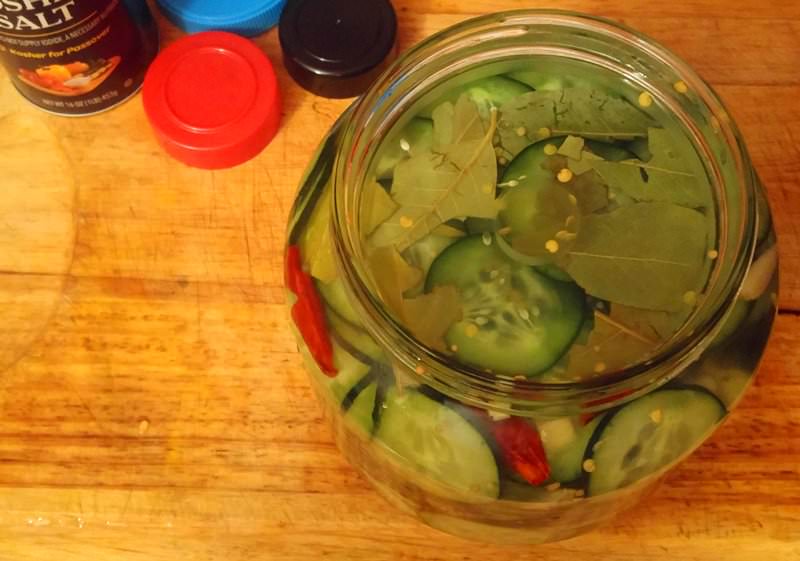
Next, I added a couple of bay leaves and set the glass fermentation weight into the jar on top of the cucumber slices. I then poured the brine into the jar until the fermentation weight was covered:
After that, I put on the lid, filled the air-lock with sanitizer and set it into the lid:

Did you notice something missing?
I forgot the dill. In fact, I didn't even think about it, until this morning!
I'll add some tonight, when I get home from work; we need to stop by the grocery on the way home, so I will even by some fresh dill. I'm not sure how much would be best to add, as it is a different type of dill than I normally use for my pickles; however, I'll probably be fairly conservative with it for this first attempt. I'll also be sure to add a few dill seeds, which seem to balance the dill weed a bit.
That's pretty much all there is to it!
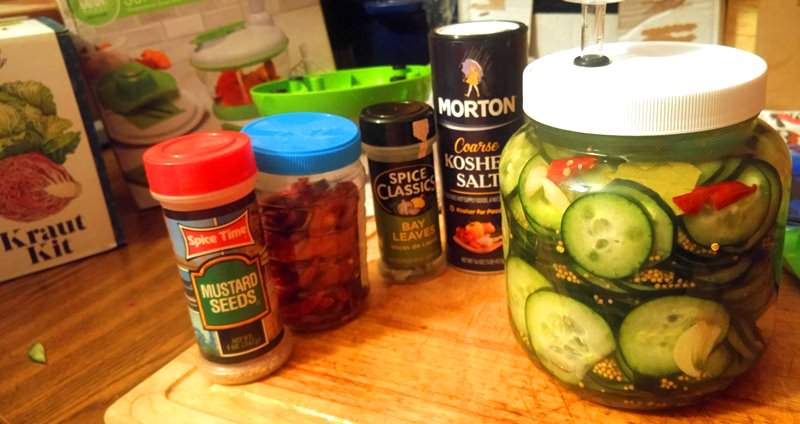
I put the jar on the top shelf of our bedroom closet, which is currently almost a "normal" and "steady" room temperature, in spite of the winter months in north-central Montana. I'll check it in a week or so, but I suspect that it will be at least two weeks before the pickles are ready - possibly three.
I am expecting some pretty good things to result from this, but we shall see how it goes. If anyone has any feedback, questions or anything else to add, please feel free to chime in.
More as it happens, etc. &c....
Ron

Last night I started a new project with my "Kraut Kit" from FarmSteady:
http://farmsteady.com/shop/kraut-kit
As we've discussed before, the kit is probably a bit over-priced; but to be honest, after looking up the individual components, I don't think it is too far out of line. A person could cobble something together for much, much less, to be sure, but I like the convenience and the inspiration that comes from following FarmSteady as they try different things.
My previous sauerkraut project turned out really well - even better after some time in the refrigerator - so I figured I would try something new. The kit, of course, can be used to ferment many, many things, so it was a natural step to take; in fact, I suspect that FarmSteady is phasing out the "Kraut Kit" in favour of an identical kit packaged as a "Fermented Vegetable Kit:"
http://farmsteady.com/shop/fermented-vegetable-kit
The instructions are simple:
http://farmsteady.com/fermented-vegetables/
So simple that even I could manage it...almost. I did end up having a couple of minor glitches...more about that, later.
The kit ferments 2 quarts of whatever you want to ferment, so I bought 5 cucumbers for the project, which ended up being really close to the right amount. Everything else that I needed, I already had at home: kosher salt, beautiful, fresh, locally-grown garlic, dried red chile peppers, bay leaves, mustard seed....I didn't have any fresh dill, but I did have dried dill weed, and dill seed, if needed.

After cleaning and laying everything out, I began. I started by roughly chopping the garlic cloves; however, after the first one, I switched to slicing them into "chips," for a better look:

Next, I sliced the cucumbers; I considered slicing them by hand with a knife, but neither my knives nor my knife skills are very good, so I decided to try a tool that my oldest son, Josef, had gotten me for Christmas:
http://a.co/1a4dJ9i
This thing is pretty handy, actually; with the "whirly-bird" blade, I had previously reduced a head of cauliflower to rice in about 15 seconds.
This was the first time that I used the slicer attachment; because I was distracted by something else happening at the moment, I neglected to use the hand guard...and paid the price with a very nasty cut to my pinky finger. Let my mistake be a lesson: ALWAYS USE THE HAND GUARD!
While I tended to my sliced finger, my youngest son, Roger, finished slicing the cucumbers for me:

Five cucumbers seemed like just enough, if anyone is keeping track.
Next, I dissolved 2 tablespoons of kosher salt into two quarts of warm water:

Strictly following the instructions, I probably should have done this before prepping the cucumbers and garlic, but I am sure that it will be fine.
The instructions didn't specify whether the water should be chlorinated or not; we have a spring south of town, and I could have gotten some water there, but ultimately chose not to. I did have half a litre of spring water on hand, so roughly half of this water was mildly chlorinated. I'm sure it will be fine, but I hope that I don't regret that decision.
Once the salt was dissolved into the water, I started adding the sliced cucumbers to the fermenting jar:

Intermittently, I added some of my garlic, a bay leaf, a broken-up chile pepper and a teaspoon of mustard seeds now and then.
I continued this layering until I ran out of cucumber slices:

Coincidentally, this was right when I reached the top of the jar.
I then topped with a layer of cucumbers:

Next, I added a couple of bay leaves and set the glass fermentation weight into the jar on top of the cucumber slices. I then poured the brine into the jar until the fermentation weight was covered:

After that, I put on the lid, filled the air-lock with sanitizer and set it into the lid:

Did you notice something missing?
I forgot the dill. In fact, I didn't even think about it, until this morning!
I'll add some tonight, when I get home from work; we need to stop by the grocery on the way home, so I will even by some fresh dill. I'm not sure how much would be best to add, as it is a different type of dill than I normally use for my pickles; however, I'll probably be fairly conservative with it for this first attempt. I'll also be sure to add a few dill seeds, which seem to balance the dill weed a bit.
That's pretty much all there is to it!

I put the jar on the top shelf of our bedroom closet, which is currently almost a "normal" and "steady" room temperature, in spite of the winter months in north-central Montana. I'll check it in a week or so, but I suspect that it will be at least two weeks before the pickles are ready - possibly three.
I am expecting some pretty good things to result from this, but we shall see how it goes. If anyone has any feedback, questions or anything else to add, please feel free to chime in.
More as it happens, etc. &c....
Ron


 ...
...


