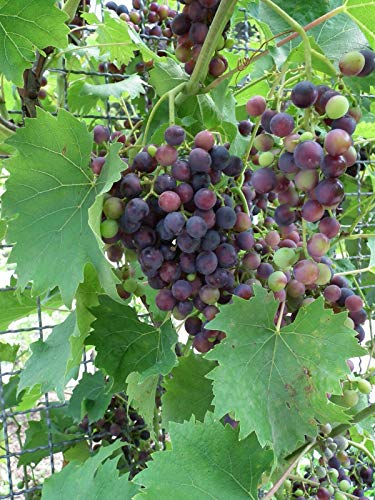
Sangiovese
SANGIOVESE PROCESS.. TRY IT YOU'LL LIKE IT!

Today we bottled our Sanginovese Kit. We tasted before bottling. Its right on target as a Sanginovese should be and only took 90 days from start to finish. It has a nice body, good tannins, zip of acidity, smooth oaky taste and hint of pepper.
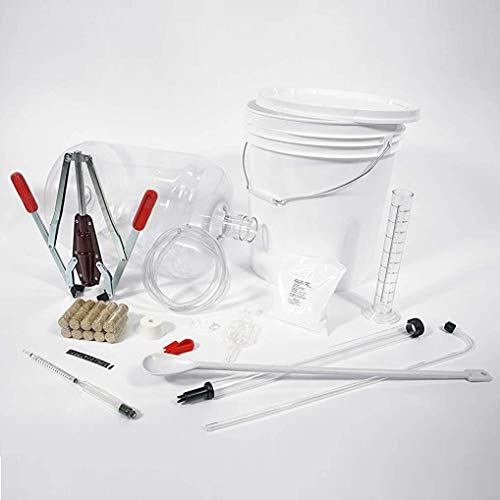
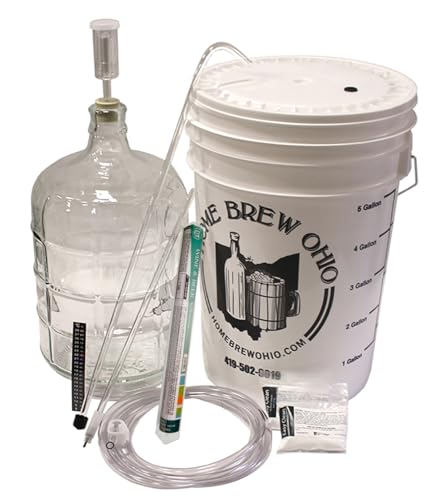
So, the tools we used for bottling:
Bottling "ferrari" (this makes bottling SO MUCH EASIER)
The packet of Sorbate and K-met that came with the wine kit
Big stirring spoon
Sanitized bottled (ours are already clean and ready to go on the bottling tree)
Corks
Funnel
Measuring spoon
Plastic seals
The process:
Add the chemicals to the carboy and give it a good stir
Start your auto syphon with the bottling Ferrari. (if you have one. If not use the good old fashioned tubing. This is the manual version for all of the "pumpies" out there.)
Fill up your bottles right up to about ½ inch after the "neck" of the bottle (right where the bottle gets skinnier at the top)
Once your bottles are filled, cork them.
Next, wipe your bottles down with a clean rag so they are dry/clean and put the seals on them. I use a tool that holds the seals to the bottle for me as I dip it into boiling water. (see picture) You can also seal them with another heat source (ie. A hair dryer or heat gun but this is the way its done.)
Sometime next week our labels will come in the mail. We will take a pic of the finished product and upload it to conclude our post on "how to make an inexpensive winekit taste great".
Today we bottled our Sanginovese Kit. We tasted before bottling. Its right on target as a Sanginovese should be and only took 90 days from start to finish. It has a nice body, good tannins, zip of acidity, smooth oaky taste and hint of pepper.
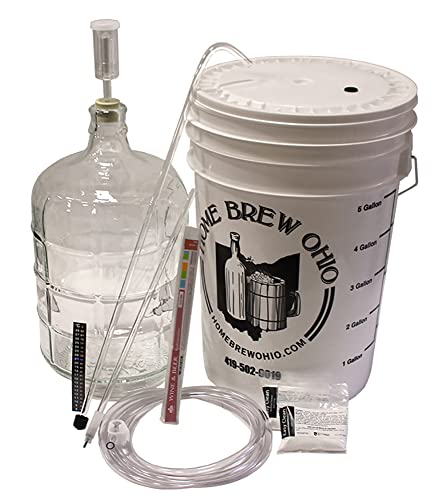
So, the tools we used for bottling:
Bottling "ferrari" (this makes bottling SO MUCH EASIER)
The packet of Sorbate and K-met that came with the wine kit
Big stirring spoon
Sanitized bottled (ours are already clean and ready to go on the bottling tree)
Corks
Funnel
Measuring spoon
Plastic seals
The process:
Add the chemicals to the carboy and give it a good stir
Start your auto syphon with the bottling Ferrari. (if you have one. If not use the good old fashioned tubing. This is the manual version for all of the "pumpies" out there.)
Fill up your bottles right up to about ½ inch after the "neck" of the bottle (right where the bottle gets skinnier at the top)
Once your bottles are filled, cork them.
Next, wipe your bottles down with a clean rag so they are dry/clean and put the seals on them. I use a tool that holds the seals to the bottle for me as I dip it into boiling water. (see picture) You can also seal them with another heat source (ie. A hair dryer or heat gun but this is the way its done.)
Sometime next week our labels will come in the mail. We will take a pic of the finished product and upload it to conclude our post on "how to make an inexpensive winekit taste great".
PICTORIALS TO FOLLOW ...............STAY TOONED


 HAVE YOU RUN INTO THIS?

 this can make a good thread. Wine Faults and how to detect and correct.
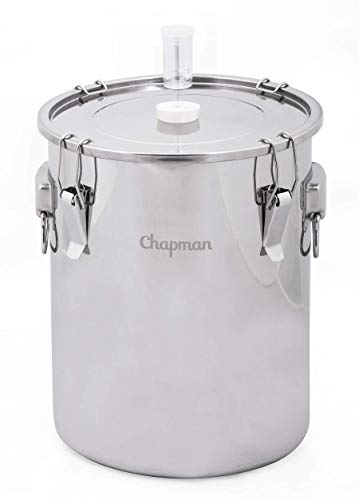


 AND HOW MANY OUT THERE HAVE HAD A SAMPLE OF IT?


